Pinterest is more than just a social media platform; it is more like a search engine like Google. In social networks, users mainly connect with each other and share content. It is a great tool for driving leads and traffic. With Pinterest, users seek inspiration and create boards so they can return later to the pinned content that interests them. It is not only limited to just saving pins but it is also a great place to get more followers on Pinterest.
Why you Should Use Pinterest Ads
Pinterest ads offer marketers a great opportunity to grab the attention and interest of Pinterest users. Pinterest ads are served in the form of promotional and sponsored pins; users can easily find and buy the products they want. The difference is that promoted Pins and the regular pin is that promoted Pins mention the brand sponsoring the product, and links to the sales page, while regular pins don’t.
Since its launch in 2010, Pinterest has grown steadily to become the third most popular social media platform for adults in the United States. With more than 300 million worldwide monthly active users (MAU’s) (Pinterest, global analysis, 2nd quarter 2019) on the platform, Pinterest has undoubtedly become a hub for businesses to engage directly with their users.
Let’s take a closer look at how to advertise on Pinterest.
Step 1: Set Up A Business Account
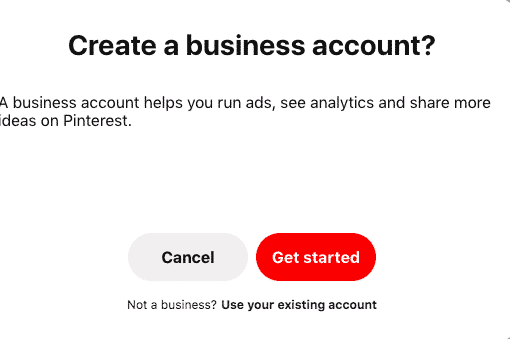
The first step is to must have a business account if you don’t have then, convert your existing Pinterest account to a business account or create a new one for your company. Creating a business account is totally free and helps to grow your professional presence on Pinterest.
Step 2: Get Started
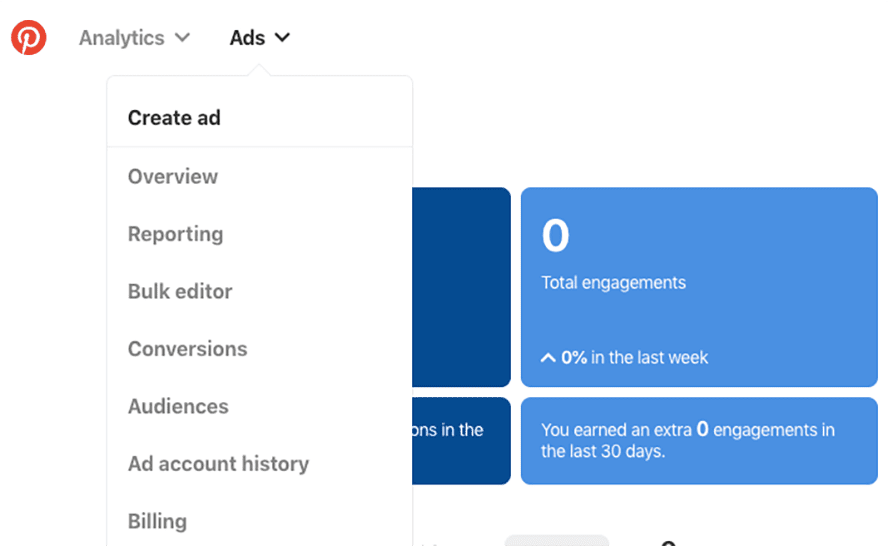
To create your first ad, first go to your Ad Manager dashboard. In the View section, click Browse. Here you can track all your campaigns. Click “Create Listing” to begin.
Step 3: Choose the Goal of Your Campaign
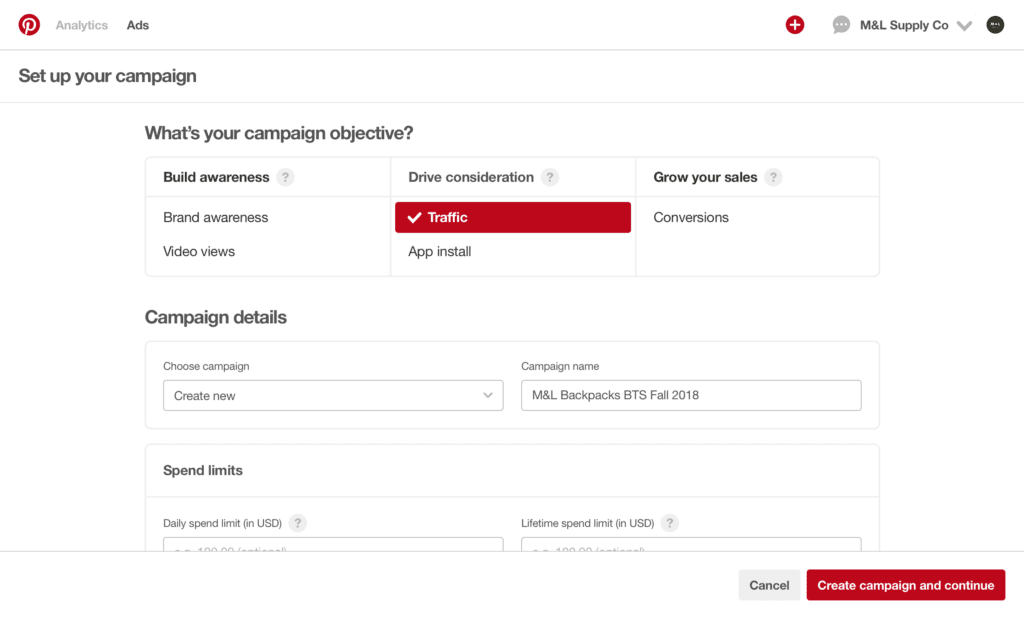
Choose a goal that shows what you want users to do after seeing your ad. Pick your goal based on what is most important to your business for that particular campaign. Every campaign on ads.pinterest.com starts with a goal. Choosing the right goal is important as it will determine the ad formats available and the bidding rate during the ad auction.
There are Four Campaign Goals:
- Get traffic to your website: The main goal is to get quality leads and optimize the number of clicks to your website. You pay per click.
- Build awareness of your brand: The aim is to help people discover your brand, products, and services and get broad engagement from current and potential customers. You pay for every 1000 impressions on your Pins.
- Increase the number of App installations: The goal is to increase the number of visits to your app download page or increase installs of your mobile app. App downloads on Pinterest can be done in two ways. If you pay through setup, Pinterest will regularly adjust your bid to suit your budget. When you click Pay, your ad will be optimized for click traffic.
- Increase awareness while Video views: The focus is to build brand awareness through video. Autoplay videos are great for creating awareness and consideration. You will be charged for every 1000 impressions.
Step 4: Choose Your Campaign Budget
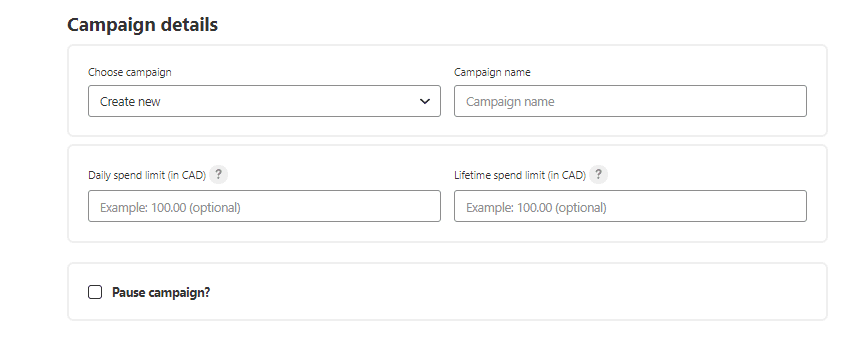
Add your campaign name, and then set the Lifetime and daily spending limit. Also, determine if this campaign is paused or ready to start.
If you’re creating a carousel ad campaign, enable the option. This only works if you’ve selected brand awareness as the target of your campaign.
Step 5: Create an Ad Group
Select an existing ad group or create a new one. Each ad group can have a different budget and targeting.
With ad groups, you can manage multiple goals in a single campaign. You may want to target some content to a specific region, but you have a limited budget to do so. Plan to start with two or four Pins per ad group.
Step 6: Choose your Target Audience
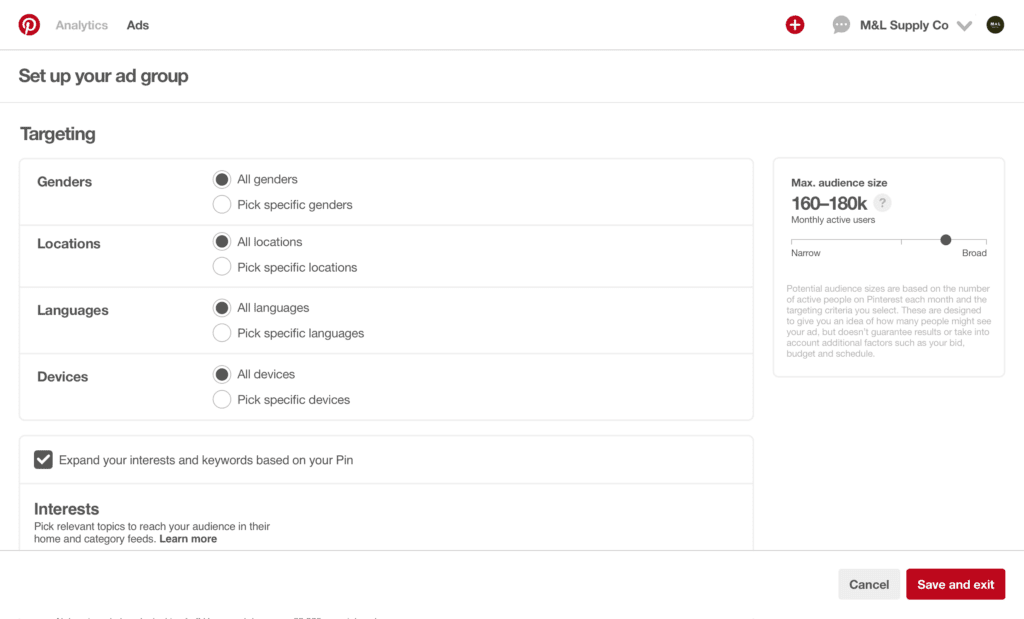
Define the target group parameters depending on what you’re promoting; you can get specific information here to ensure that only the most relevant potential customers see your ads. You can target your ads by genre, location, language, and device. If the goals of your Pinterest ad campaign are traffic or brand awareness, use a comprehensive targeting strategy to avoid low click volume.
Step 7: Select Your Ad Position

You can choose to show your ad when people browse their feed or browse relevant pins.
You can show your ad in search results when people search for specific terms. You can also post your ad in both places to increase your brand and product exposure. They work well for interest targeting, whereas rankings of search results perform best for keywords targeting.
Step 8: Add Interests and Keywords
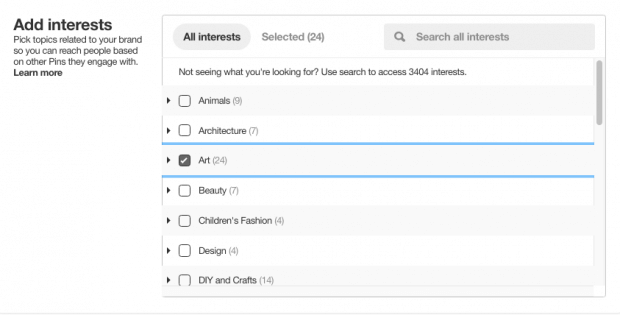
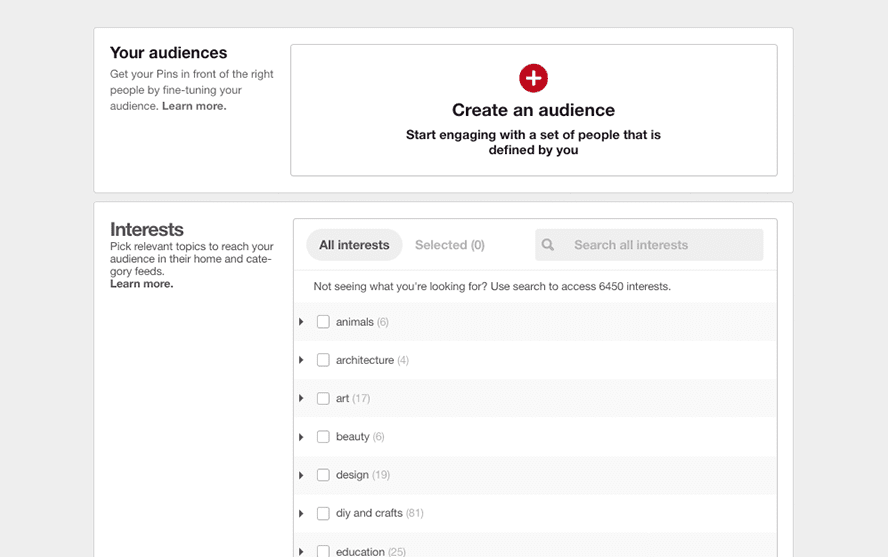
You can expand your targeting by adding keyword and interest targeting as well. This setting ensures that your ads are automatically targeted to relevant searches and interests. Pinterest notes that campaigns generally improve reach, click-through rates, and scalability when interest-based targeting and keyword targeting are enabled.
Use 25 keywords to get the best results. Keywords can be formatted to indicate a broad match, an exact phrase, or an exact match. You can also add negative keywords to prevent certain search terms from triggering your ads.
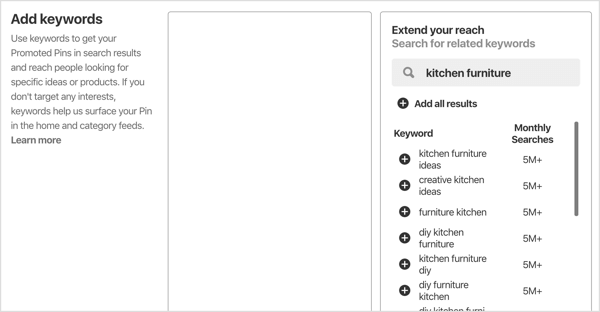
Keywords Format:
- Wide game: modern art
- Exact expression: “modern art”
- Exact game: [modern art]
Step 9: Set your Budget and Schedule
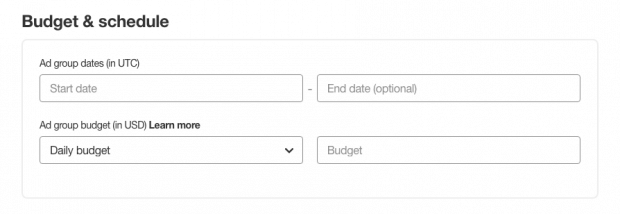
Enter the start and end dates for your Pinterest ad campaign. Then set your daily or lifetime budget. The daily budget sets the daily spending limit for the ad group. The lifetime budget is the total amount you want to spend between the start and end dates.
Be careful what you add here as it cannot be changed later.
Step 10: Designed for Optimization and Delivery
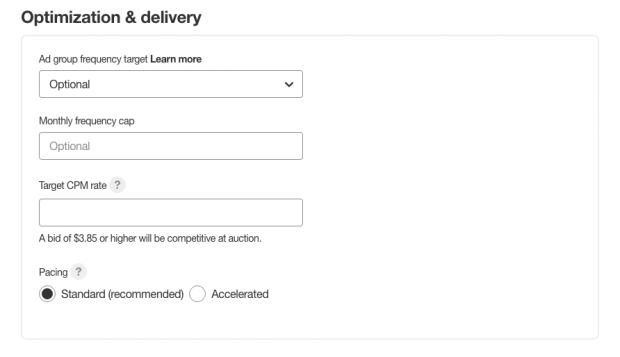
First, set a maximum bid for your Pinterest ads. This is also known as the target CPM rate. The minimum bid must be greater than $ 2.00.
Step 11: Set your Pace
There are two types of stimulation options for your Pinterest ad campaign: standard and accelerated. The standard ad campaign aligns your offers with your total spending and the duration of your campaign. The Accelerated ad campaign may be better for high impact campaigns, allowing for faster delivery and faster results.
Pinterest never spends more than your total or daily budget limit, but a fast pace can deplete your budget before your campaign ends.
Step 12: Choose your Promoted Pins
The final step in creating your campaign and ad groups is to choose a Pin to add Pins to your ad group. Remember that there should be two to four Pins in each ad group. You can create new Pins or select Pins that were previously added. Each Pin is assigned a name and a URL.
To be eligible, Pins must:
- Saved on your profile
- You have destination URLs (they don’t have to be shortened)
- Not saved to any secret boards
- It does not contain third-party videos or GIFs
Step 13: Track Campaign Performance
Click Analytics on the Pinterest Ads Manager dashboard to measure your campaign performance. First, get an overview of all campaigns and their most important metrics, including the total number of clicks or impressions. Engagement rate or click-through rate; Average eCPM (both earned and non-earned cost-per impression) and eCPC (effective cost-per click); And the total expenses. Click on a specific campaign to access its performance details.
Each campaign is different, but you can make more adjustments to your campaign to increase your audience, increase your budget, try different formats, or plan events.

