

Making a Minecraft server for free sounds simple until you actually try doing it.
One guide tells you to use Aternos. Another says self-host on your PC. Then somebody recommends Oracle Cloud, SSH commands, and firewall rules like you’re suddenly managing enterprise infrastructure.
The truth is, there isn’t one best free method.
Some options are incredibly easy but come with queues, sleeping servers, or performance limits. Others can give you a genuinely free 24/7 server, but expect a much steeper learning curve.
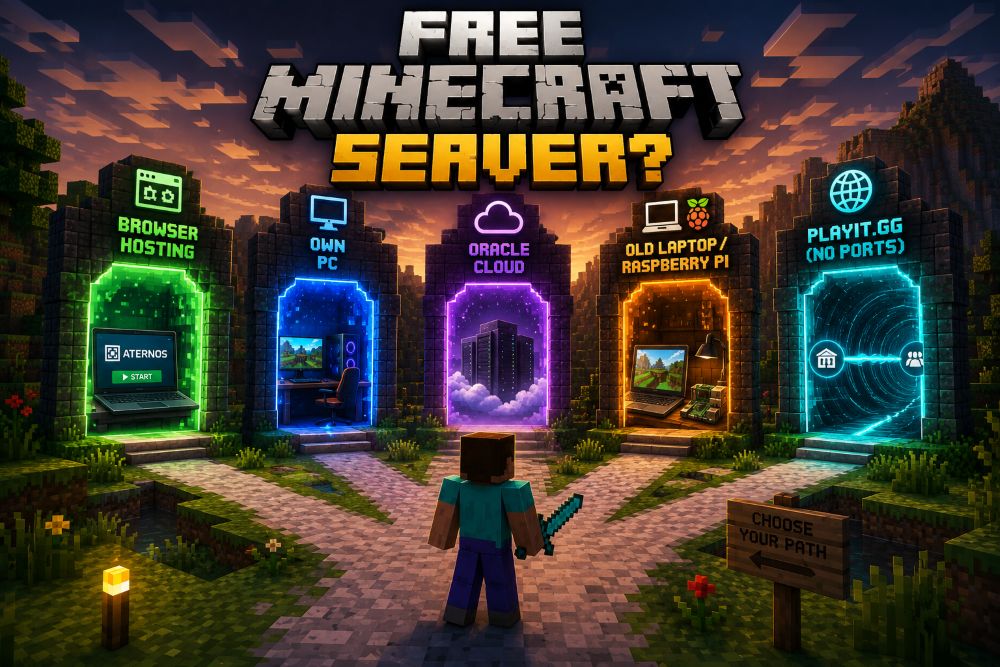
So I tested five practical ways to make a Minecraft server for free, from one-click browser hosts to cloud setups and self-hosting options.
The goal wasn’t just getting a server online.
It was figuring out:
- Which method is easiest for beginners
- Which one actually delivers reliable 24/7 uptime
- Which option gives the best performance
- Which methods quietly create networking headaches, hidden costs, or maintenance problems
If you just want the quick answer, start here or you can check the Best Free Minecraft Server Hosting: Tested Options That Actually Work
Table of Contents
Quick Answer Table
| If you want… | Use this | Reality Check |
|---|---|---|
| Easiest setup | Aternos / browser hosting | Fastest start, but expect limitations |
| Best performance & control | Host on your own PC | Great experience if your hardware and internet can handle it |
| Free 24/7 server | Oracle Cloud Free Tier | Powerful, but definitely not beginner-friendly |
| Low electricity use / spare hardware | Old laptop or Raspberry Pi | Surprisingly practical for smaller worlds |
| Avoid port forwarding entirely | Playit.gg setup | Excellent workaround for router headaches |
Optional mini-transition before Method 1
Before diving into setups, here’s one important thing most guides skip:
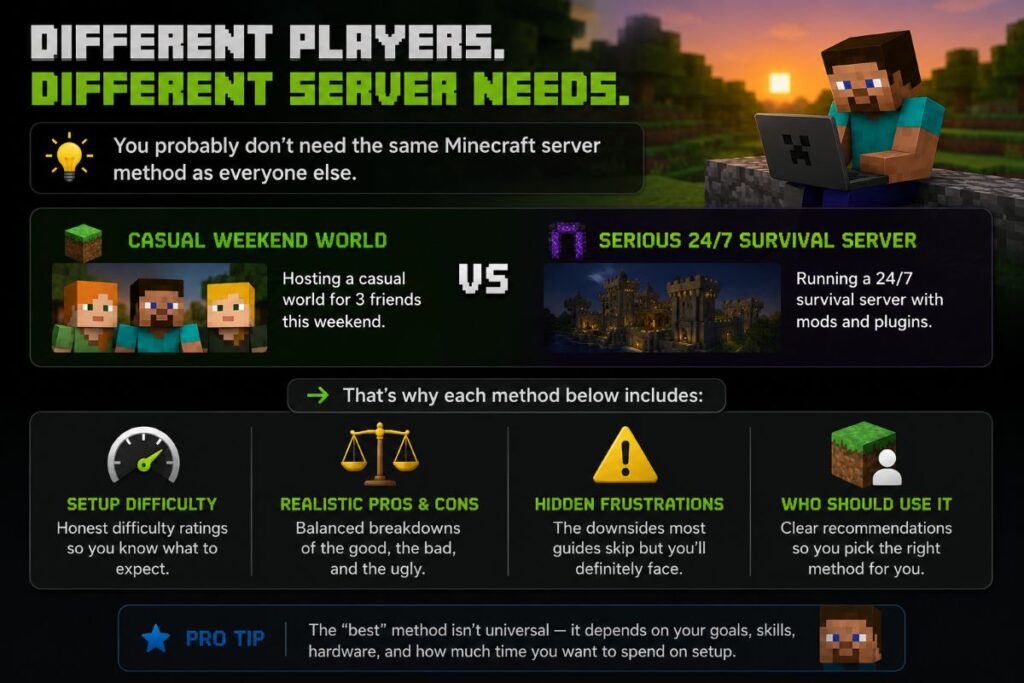
You probably don’t need the same Minecraft server method as everyone else.
If you’re hosting a casual world for three friends this weekend, your best choice is very different from someone trying to run a 24/7 survival server with mods.
That’s why each method below includes:
✓ setup difficulty
✓ realistic pros and cons
✓ hidden frustrations nobody mentions
✓ who should actually use it
Method 1: Browser Hosting (Aternos-Style)
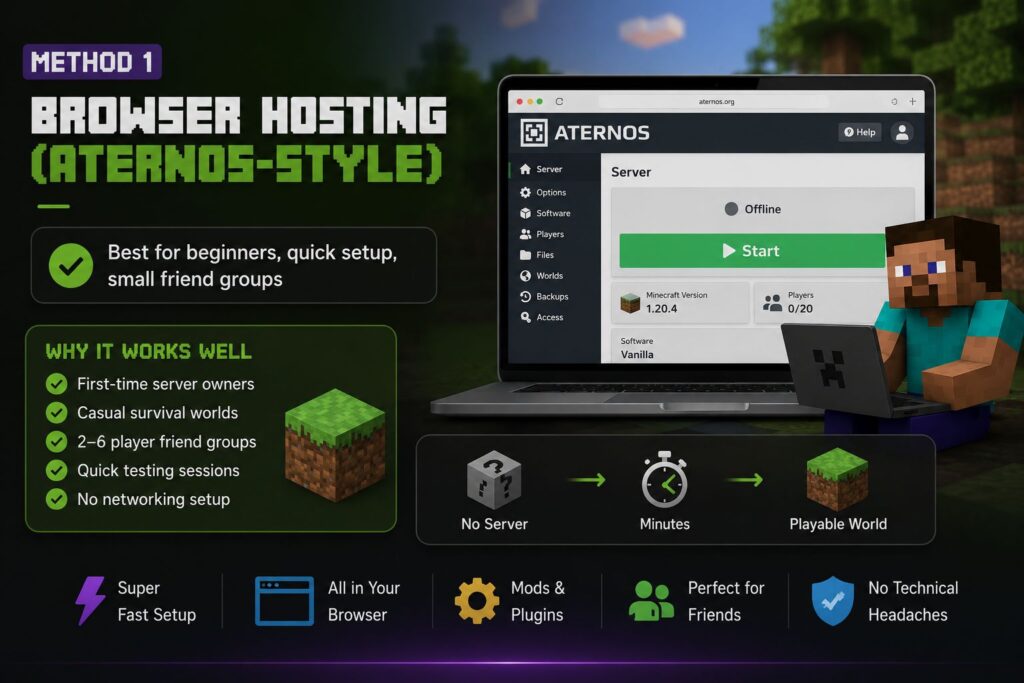
Best for: beginners, quick setup, small friend groups
If your goal is simply:
“I want to play Minecraft with friends tonight without learning networking or server management.”
Browser-based hosting is usually the easiest starting point.
Services like Aternos let you create a Minecraft server directly from your browser. No server files, no terminal commands, no router setup.
You choose your Minecraft version, install mods or plugins if needed, click start, and share the server address.
For complete beginners, that’s genuinely appealing.
Why browser hosting works well
Good fit for:
✓ first-time server owners
✓ casual survival worlds
✓ 2–6 player friend groups
✓ quick testing sessions
✓ players who don’t want to touch networking settings
Setup is typically fast.
You can go from no server → playable world in minutes.
That convenience is exactly why browser hosts became popular.
But this is also where many guides stop.
The reality is more nuanced.
The Hidden Downsides Most People Discover Later
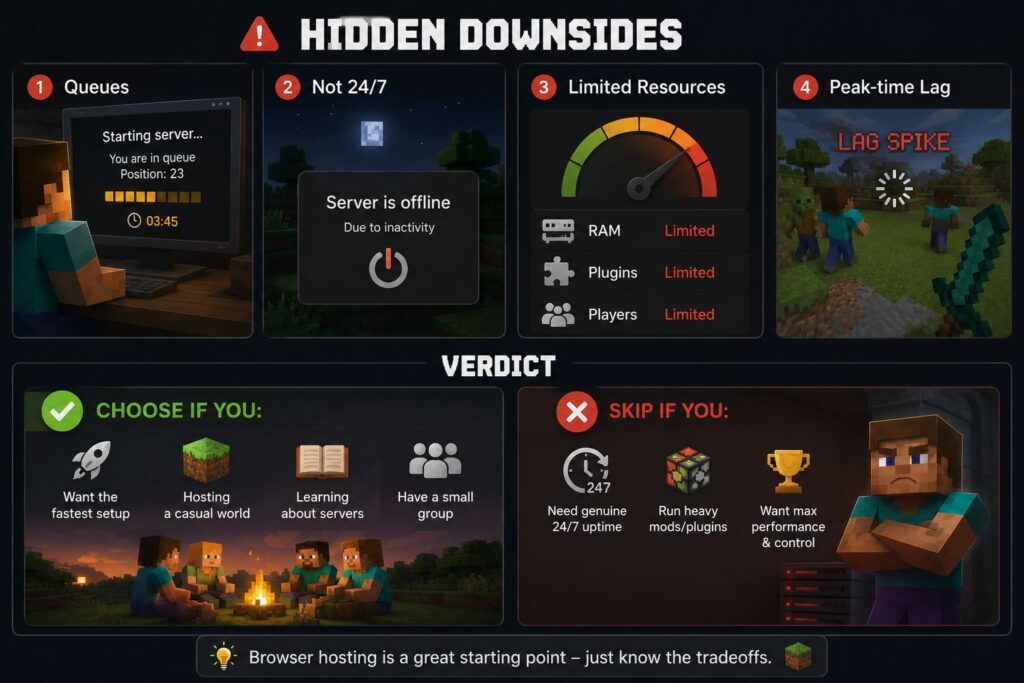
1. Queues can become annoying
Free browser hosts often have waiting systems during busy periods.
Sometimes you click Start Server and… wait.
Not always a dealbreaker.
But frustrating if your entire friend group is already online.
2. Your server may not stay online 24/7
This surprises a lot of new users.
Many free browser hosts use inactivity systems.
If nobody is playing, the server may automatically shut down or “sleep.”
That helps providers manage free resources.
It also means this is not the same thing as permanent 24/7 hosting.
If you want a world that’s always online for friends across time zones, you’ll probably outgrow this method.
Also read: How to Make Discord Server Members Invisible?
3. Resources are limited
Free hosting always comes with tradeoffs.
Large modpacks.
Heavy plugin stacks.
10+ active players.
Aggressive world exploration.
These can push browser hosting beyond its comfort zone.
Small vanilla worlds generally fare much better.
4. Peak-time lag is real
Performance can vary depending on server load.
During busy periods, you might notice:
- chunk loading delays
- lag spikes
- slower startup times
- inconsistent responsiveness
For casual play, many people tolerate this.
For serious long-term servers, it becomes harder to ignore.
Verdict: Who Should Actually Use This?
Choose browser hosting if:
- you want the fastest setup possible
- you’re hosting a casual world
- you’re learning how Minecraft servers work
- your group is relatively small
Skip it if:
- you need genuine 24/7 uptime
- you’re running heavy mods
- you want maximum performance or control
For beginners, browser hosting is still one of the easiest ways to get started.
Just go in understanding the tradeoffs.
Method 2: Host On Your Own PC
Best for: maximum control, better performance, players comfortable leaving hardware running
Self-hosting on your own PC gives you something free browser hosts often cannot:
full control.
You’re running the server on your own machine.
That means:
- choose your software
- tune performance settings
- install mods or plugins freely
- control backups
- decide when the server runs
If your hardware and internet are decent, self-hosting can deliver a noticeably better experience than many free browser platforms.
But competitors often oversimplify this method.
Running a Minecraft server on your PC isn’t just about clicking a .jar file.
Your hardware and especially your internet connection, matter more than many beginners realize.
Basic Requirements Checklist
Before choosing this route, check these three things first.
RAM
Minecraft servers need memory.
How much depends on:
- player count
- world activity
- mods/plugins
- server software
Very rough starting point:
| Setup | Typical Player Range |
|---|---|
| 8GB RAM laptop | 2–5 players |
| Gaming PC | 5–15 players |
These are practical estimates, not hard limits.
Heavy mods or large worlds can change the equation quickly.
CPU
Minecraft cares a lot about CPU performance.
A fast processor often matters more than simply throwing huge amounts of RAM at the problem.
Single-core performance especially helps.
Older weak CPUs can bottleneck servers surprisingly fast.
Internet Upload Speed
This is the requirement many guides barely mention.
Your upload speed affects how smoothly data reaches connected players.
Weak upload speeds can create:
- rubber-banding
- lag
- delayed chunk loading
- poor multiplayer experience
Before self-hosting, run a quick internet speed test.
Good hardware cannot fully compensate for a weak connection.
Biggest Self-Hosting Mistakes Beginners Make
Allocating absurd amounts of RAM
This happens constantly.
People assume:
“More RAM = faster server.”
Not necessarily.
Over-allocating RAM can sometimes create stability or garbage collection issues.
Give the server what it realistically needs and not your entire system memory.
Running vanilla instead of Paper
Many beginners never discover this.
If you’re running a standard Java server, Paper can often provide better optimization and performance compared to plain vanilla server software.
Not mandatory.
But worth understanding early.
Forgetting backups
This is one of the most expensive mistakes.
World corruption.
Bad plugins.
Accidental deletions.
They happen.
Create a backup plan before you need one.
Ignoring weak upload speeds
Your gaming PC might be powerful.
Your internet upload speed might not be.
That mismatch causes a lot of confusing performance complaints.
Verdict: Who Should Actually Use This?
Choose PC hosting if:
- you want maximum control
- you have decent hardware
- your internet connection is strong
- you don’t mind occasional setup work
Skip it if:
- you hate networking issues
- your PC cannot stay online reliably
- electricity costs matter
- you want a zero-maintenance setup
For many players, self-hosting hits a sweet spot between performance, flexibility, and cost provided your setup can support it.
Method 3: Oracle Cloud Free Tier
Best for: free 24/7 uptime, advanced users, people willing to learn a little server administration
If browser hosting feels too limited and self-hosting on your own PC feels inconvenient, Oracle Cloud Free Tier sits in a strange middle ground.
It’s one of the few genuinely powerful free options available.
And yes, this is the method many experienced Minecraft players quietly recommend when somebody asks:
“How do I run a real 24/7 Minecraft server without paying?”
But before you get excited, there’s something important to understand.
Oracle Cloud is not a beginner-friendly “click create server” experience.
You’re essentially working with cloud infrastructure.
That means more power.
It also means more complexity.
What You Actually Get
Oracle’s Always Free tier is attractive because it offers surprisingly generous resources compared to most free hosting options.
You can spin up cloud instances powerful enough for many personal Minecraft servers — including ARM-based virtual machines that have become particularly popular in the Minecraft community.
What makes this interesting:
✓ genuine 24/7 uptime potential
✓ server stays online even when your PC is off
✓ no electricity cost from running home hardware
✓ strong level of control and customization
For players who want a world that friends can access at any hour, Oracle immediately becomes much more appealing than sleeping browser hosts.
But this is where the smooth marketing story usually ends.
The Setup Pain Points Nobody Mentions Enough
Oracle Cloud can be excellent.
It can also be frustrating.
Here are the issues beginners often run into.
Account verification can be annoying
The first hurdle sometimes appears before you even create a server.
Users occasionally report verification issues, rejected signups, or payment verification friction despite using the free tier.
Sometimes setup goes smoothly.
Sometimes it doesn’t.
Worth knowing upfront.
Capacity errors are surprisingly common
This catches many first-time users off guard.
You configure everything correctly.
Then Oracle tells you there is no available capacity for the instance type you want.
Now you’re troubleshooting cloud availability instead of playing Minecraft.
Persistence usually helps, but it can definitely test your patience.
Firewall rules can confuse beginners
Cloud networking is different from normal home networking.
Getting a Minecraft server accessible often involves configuring:
- cloud security rules
- inbound ports
- operating system firewall settings
Miss one step and your server may appear completely unreachable.
This is one of the biggest setup blockers for newcomers.
SSH has a learning curve
Oracle Cloud setup typically involves using SSH to access your server remotely.
If you’ve never used a terminal before, this can feel intimidating at first.
You’re suddenly dealing with:
- command lines
- Linux packages
- server directories
- configuration files
For some users, that’s exciting.
For others, that’s where the tutorial tab gets closed.
Why Advanced Users Still Love Oracle
Despite all the friction, Oracle remains incredibly popular among technical Minecraft users.
The reason is simple:
few free methods offer this level of always-on hosting potential.
Once configured properly, you can have:
- a server running day and night
- no dependence on your gaming PC staying powered on
- full control over software and settings
- performance that often exceeds typical browser hosts
That combination is hard to ignore.
Verdict: Who Should Actually Use This?
Choose Oracle Cloud if:
- you want genuine free 24/7 hosting
- you’re comfortable learning technical setup
- you want strong control without paying monthly fees
- browser hosting limitations are starting to annoy you
Skip it if:
- you want a simple beginner experience
- terminal commands make you uncomfortable
- you need something working immediately
Oracle Cloud isn’t the easiest free Minecraft server method.
But for advanced users chasing real always-online hosting without a monthly bill, it might be the strongest option on this list.
Method 4: Old Laptop / Raspberry Pi
Best for: low-cost permanent hosting, DIY setups, players with spare hardware lying around
This is probably the most overlooked method in Minecraft hosting guides.
And honestly?
It deserves more attention.
If you have an unused laptop, mini PC, or Raspberry Pi gathering dust somewhere, you may already own a perfectly usable Minecraft server.
No cloud provider.
No subscription.
No browser hosting queues.
Just dedicated hardware running your world.
Why Old Hardware Is Surprisingly Underrated
Many people immediately jump from:
“I need free hosting.”
to
“I must use a hosting platform.”
But repurposed hardware can solve that problem remarkably well.
No cloud complexity
Unlike Oracle Cloud, you’re not navigating cloud dashboards, SSH provisioning workflows, or infrastructure setup.
You control the machine directly.
That simplicity matters.
Lower power draw can make this practical
Running a gaming desktop 24/7 can consume noticeably more electricity than smaller hardware.
An old laptop, mini PC, or Raspberry Pi can be far more efficient.
For long-running servers, that difference becomes meaningful.
Permanent local control
This is one of the biggest advantages.
Your hardware.
Your files.
Your world.
No provider limitations.
No queue systems.
No dependency on whether a free hosting platform changes policies next month.
Many DIY users value this more than flashy cloud features.
Raspberry Pi: Good, But Know Its Limits
Raspberry Pi servers have developed something of a cult following in the Minecraft community.
And for certain setups, they genuinely make sense.
Where a Pi works well
Good fit for:
✓ small survival servers
✓ lightweight worlds
✓ small friend groups
✓ learning projects
✓ low-power always-on hosting
For modest workloads, a Pi can be surprisingly capable.
Where things become harder
A Raspberry Pi is not magic hardware.
Heavy modpacks.
Large plugin stacks.
Big active player counts.
Resource-intensive worlds.
These can push a Pi beyond its comfort zone fairly quickly.
If you’re planning a large heavily modded server, stronger hardware will usually be the better choice.
Verdict: Who Should Actually Use This?
Choose old hardware or a Pi if:
- you already own spare equipment
- you like DIY solutions
- you want permanent local control
- you care about minimizing hosting costs
Skip it if:
- you expect heavy modded performance
- you don’t want to manage hardware at home
- you need maximum simplicity
This method won’t get as much attention as browser hosting or Oracle Cloud.
But for the right person, repurposed hardware can quietly become one of the smartest free Minecraft server setups available.
Method 5: Playit.gg (No Port Forwarding)
Best for: people blocked by router issues, CGNAT users, ISP restrictions, players who simply do not want to touch networking settings
For many people, creating a Minecraft server goes smoothly right up until one ugly phrase appears:
Port forwarding.
Suddenly you’re logging into your router, opening ports, checking firewalls, Googling mysterious networking terms, and wondering whether you’ve accidentally exposed your home network to the internet.
This is exactly the problem Playit.gg tries to solve.
What Playit.gg Actually Does
Instead of traditional port forwarding, Playit.gg creates a secure tunnel between your local Minecraft server and external players.
In practical terms:
Your Minecraft server still runs on your machine.
But instead of manually opening router ports, Playit handles the connection layer for you.
That means your friends can connect without you configuring traditional port forwarding.
This can feel almost magical the first time it works.
Especially if you’ve spent hours fighting router settings.
Why This Method Exists In The First Place
Many tutorials still assume port forwarding is easy.
Reality says otherwise.
CGNAT users
Some ISPs place customers behind Carrier-Grade NAT (CGNAT).
If you’re under CGNAT, traditional port forwarding may simply not work properly.
This confuses a lot of beginners because they follow tutorials perfectly and still cannot get external players connected.
Playit can be a practical workaround.
ISP restrictions
Certain internet providers restrict networking behavior or make direct hosting unnecessarily difficult.
Again, standard tutorials rarely mention this.
People blame themselves.
The actual problem may be their network environment.
Nervous router owners
Not everyone is comfortable modifying router settings.
And honestly, that’s understandable.
For casual players, tunneling solutions can feel far less intimidating than manually configuring networking rules.
The Tradeoffs You Should Know
Playit solves a real problem.
But it’s not completely friction-free.
Because you’re adding another service layer between your server and players, you are introducing an extra dependency.
That means:
- another setup component to manage
- reliance on a third-party service
- occasional troubleshooting may still happen
It is not magic.
It is a workaround.
A very useful workaround — but still a workaround.
Verdict: Who Should Actually Use This?
Choose Playit.gg if:
- port forwarding feels like your biggest blocker
- your ISP uses CGNAT
- router access is restricted
- you want local hosting without networking headaches
Skip it if:
- traditional port forwarding already works well for you
- you prefer minimizing external dependencies
- you want the most direct networking setup possible
For many players, Playit.gg removes the single biggest reason they abandoned self-hosting in the first place.
And that’s a bigger deal than most hosting guides admit.
Which Method Is Actually Worth Using?
After testing these approaches, here’s the short version.
Not the generic version.
The practical version.
Because the “best” free Minecraft server method depends heavily on what you’re actually trying to do.
Just want to play tonight?
Pick: Browser Hosting / Aternos
You want:
- fast setup
- minimal technical effort
- multiplayer working quickly
This is the easiest path from idea → playable server.
You will accept some limitations.
But that’s often completely fine for casual worlds.
Want real 24/7 free hosting?
Pick: Oracle Cloud Free Tier
This is the strongest option here for genuine always-online hosting.
Your server can stay available even when your PC is off.
But you’re paying with complexity instead of money.
Expect a steeper learning curve.
Worth it for the right user.
Absolutely not for everyone.
Want the best gameplay performance?
Pick: Host On Your Own PC
If your hardware and internet connection are strong, self-hosting can provide the best overall gameplay experience on this list.
Maximum control.
Strong customization.
No browser host queues.
No cloud provisioning headaches.
Just remember:
your upload speed matters more than many people expect.
Want the lowest long-term cost?
Pick: Old Laptop / Raspberry Pi
This is the quiet sleeper option.
If you already own spare hardware, your ongoing costs can be surprisingly reasonable — especially with lower-power machines.
No monthly bill.
No cloud dashboard.
Permanent ownership of your setup.
Underrated approach.
Port forwarding impossible?
Pick: Playit.gg
If networking is the reason your Minecraft server project keeps failing, start here.
Especially if:
- your ISP uses CGNAT
- router settings are restricted
- you simply don’t want networking headaches
Playit can remove a major barrier that traditional tutorials often pretend doesn’t exist.
My Honest Bottom Line After Testing
If I had to recommend only one method per situation:
| Your Situation | My Pick |
|---|---|
| Absolute beginner | Aternos |
| Best free 24/7 uptime | Oracle Cloud |
| Best performance & control | Own PC |
| Lowest ongoing cost | Old laptop / Pi |
| Networking nightmare / no port forwarding | Playit.gg |
There isn’t one universal winner.
But there is probably one method that fits your specific situation much better than the others.
And choosing that correctly matters more than chasing the most powerful setup on paper.
